Showing posts with label classroom. Show all posts

Saturday, August 9, 2014

Happy August, Everybody!

School's already started back?  WHAAAT!?  Seems like it's earlier every year.  Anyway, here's a little update on me.  

Our school is pretty severely overcrowded at this point, and I'm still in a mobile Art situation.  At the end of the year last year, I was asked if I would prefer to move to the former concession stand near the gym and the music room, and I jumped at the chance.  My previous office was small and had carpet.  This one is twice the size, has linoleum flooring, lots of countertops and cabinets, and best of all, a sink!  So it's much more conducive to arty-ness, even though it's still not the same as having an actual classroom.  This location is pretty ideal for me, being near the gym and the stage for theatre things, and near the music room for collaborating with my Fine Arts buddies.


There are moments when I still feel overwhelmed, but I do feel like I'm better equipped this year to make the program work.  And yes, that is the TARDIS on my office door.  At first, I did that for me, just to add a little personality to the space, but then I decided to make it relevant and cuter by adding "Imagination makes you bigger on the inside," above the door.  Already had some compliments on that!


This year we are on an 8 day color rotation.  And since the specials teachers almost all have an additional part time teacher, that makes the planning piece very complicated.  It's going to be pretty near impossible to coordinate on a lesson that keeps pace and is consistent across a grade level.  So my co-teacher and I have decided to have her teach her own self contained lessons, focusing primarily on art criticism, since that's what I tend to leave out due to time constraints.  I will let you all know how that turns out!

But for now, HAPPY SCHOOL YEAR!


Thursday, February 2, 2012

DIY Wet Wipes


Necessity is the mother of invention, as they say.  I use baby wipes for cleaning tables, hands, faces, floor, whatever.  We go through a lot of them in the art room, but I try to use them sparingly.  The "Dirtiest Baby Wipe" contest works well for conserving wipes. 

On the kids' supply list that they get from their regular teachers is a pack of baby wipes that is supposed to come to me for use during the year.  I think I only put it on one grade level's list, because I don't have the storage for that many (over 800) packs of wipes each year.  But I ran out.  I have run out a couple times since August, actually.  But I usually send out an email and ask for anyone's leftovers, and they turn up randomly at my door the next day.  This time, no.  This time I was plumb out of wipes, AND also plumb out of paper towels in the little holders by the sinks.  The maintenance staff is supposed to refill those as I understand, but it doesn't always happen.  In my room that is a BAAAAD thing. 

So I searched Pinterest and found that you can use decent paper towels (the soft, durable kind) to make your own wet wipes.  It worked great!  I should give most of the credit to my fabulous colleague, whom I will refer to here as "Ms. Squash."  She's the one who figured out how to cut and store the wipes in a coffee can.  Here's what to do:

I dug into my emergency reserve of paper towel rolls, and pulled the cardboard tube out of the center.  Then we used my paper cutter to cut the entire roll in half.  This actually didn't work too well, but since I didn't have a serrated knife at school, it was the best I could do.  If you do this for yourself, at least try a box cutter or an X-acto or somethin'. 

Then I took an empty coffee container with a lid and in the bottom, made a slurry of water, liquid soap, and good old Germ-X.  I then put the halved paper towel roll (without the cardboard tube) into the coffee container, closed the lid, and turned it over.  The liquid soaked the paper towels, and when I opened the container, I was able to pull individual wipes out from the center of the roll just like the Clorox kind.  I tried it once with cheaper paper towels, and they kinda fell apart when they got wet.  I've been told that Viva is the best brand for doing this.  But we used Brawny Basic and they work just fine. 

Lastly, I used my grown up scissors to poke a hole in the lid of the coffee container, and cut out an X for the wipes to slide through.

Omigosh you guys, the paper towel roll cut in half is EXACTLY the right size for a regular coffee container.  The ladies in the teacher work room send me those coffee things all the time, and I use them for various things, but this is now my favorite use.

You could experiment with the amount of water to add to the can, but I found I needed a very small amount to make them damp, not wet.  :)

YAY!  This way I could even customize my liquid mix to include some lovely lavender castille soap, or a little bit of lysol or whatever.  Oh the JOY!

Wednesday, February 2, 2011

Free Liquid Watercolors!


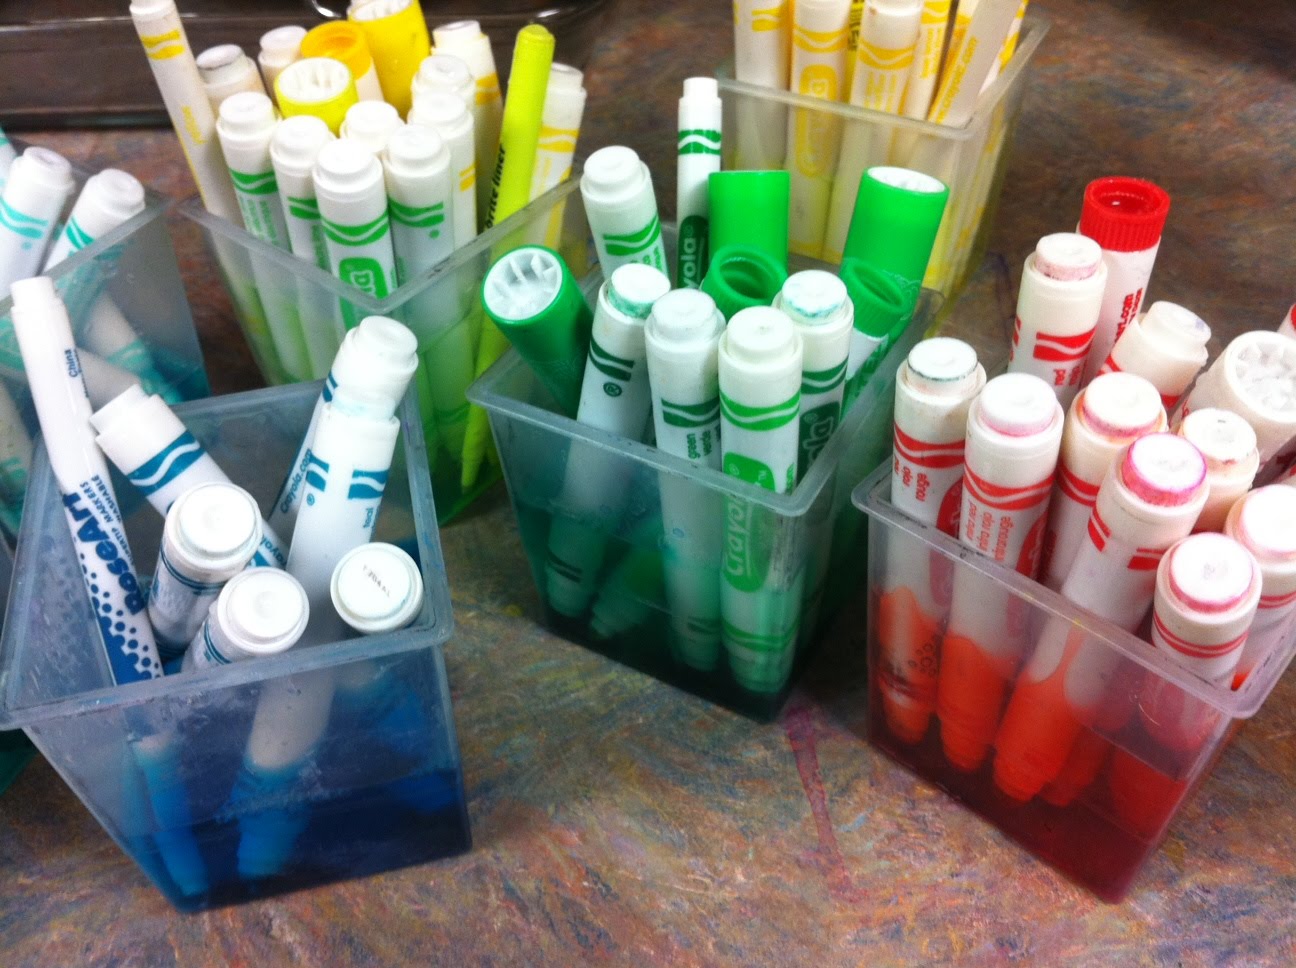
Don't you love free stuff? Of course you do! It's part of your teacher chromosome! ;) I thought I would share this technique because it is essentially free, and it's working so well for me. I heard about this from Debi West, a fabulous superwoman art teacher from Georgia. She suggested making liquid watercolors from "dried out" markers. All you have to do is take the lids off the markers and soak the tips in water. It took me a bit of experimenting to perfect the ratio of ink to water. I found that it worked best filling these square cups to the line and then putting in as many markers of one color as I could. The watercolor paint can be diluted more if you want a pastel look, but I prefer the color be as bright as possible. I then pour the colors into seperate larger bottles for storage.  (****UPDATE:  If you have a pair of pliers, you can actually take the marker apart and remove the foamy ink reservoir, then put just THAT into the water.  That works even better, I've found!****)

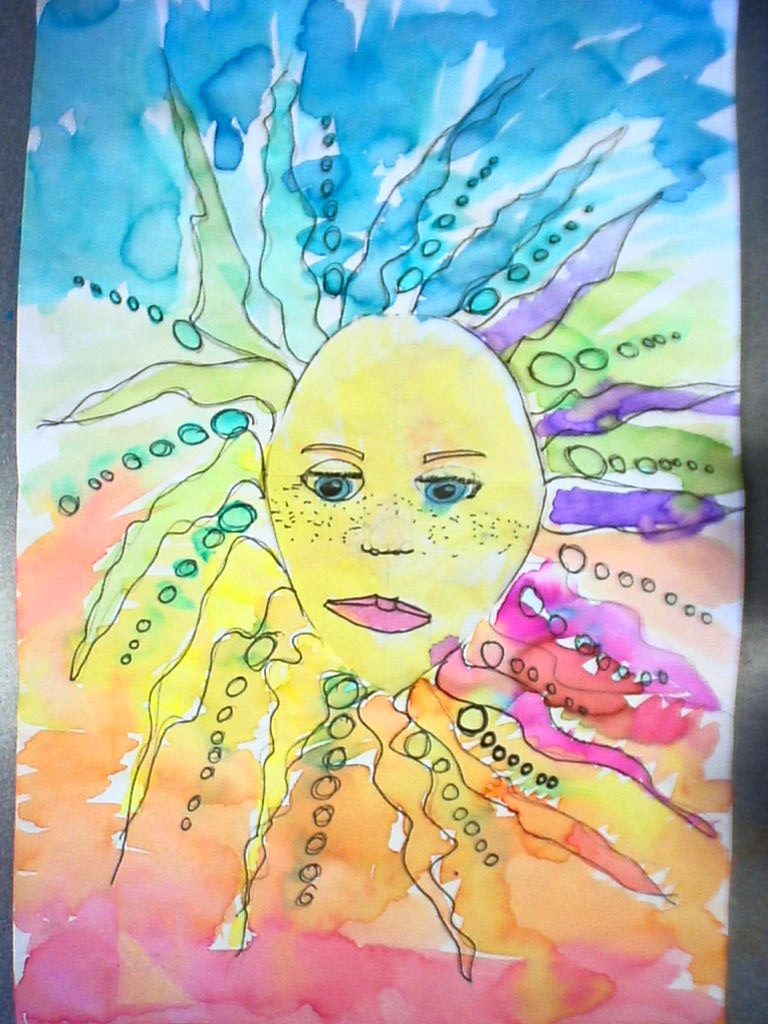
When I let the kids paint, I fill squeeze bottles (the kind with the twisty lids that are made to hold glue work best)with the liquid and they can refill their palettes themselves. The students always ask me how I make the paint and they are amazed about the markers. I've also found that the other teachers at my school are happy to give me boxes of used up markers that they haven't thrown away. I guess holding on to supplies so they can be recycled is another part of the teacher personality. Once or twice a year I'll email everyone and say, "You know that tub of markers that barely work that has been taking up space in your cabinets? I'll be glad to take it off your hands!" I always get pounds and pounds of them.

One thing to be aware of is that the paint in the bigger bottles can get a little smelly every once in a while, just like tempera paint. I usually fix that problem by squirting a significant amount of Germ-x into the paint, and shaking it up. Maybe that isn't the best way but it works for me. In my opinion, this is a minor problem considering that this stuff is free, easy to obtain, and the resulting paintings are beautiful. The projects you could do with liquid watercolors are infinite.